
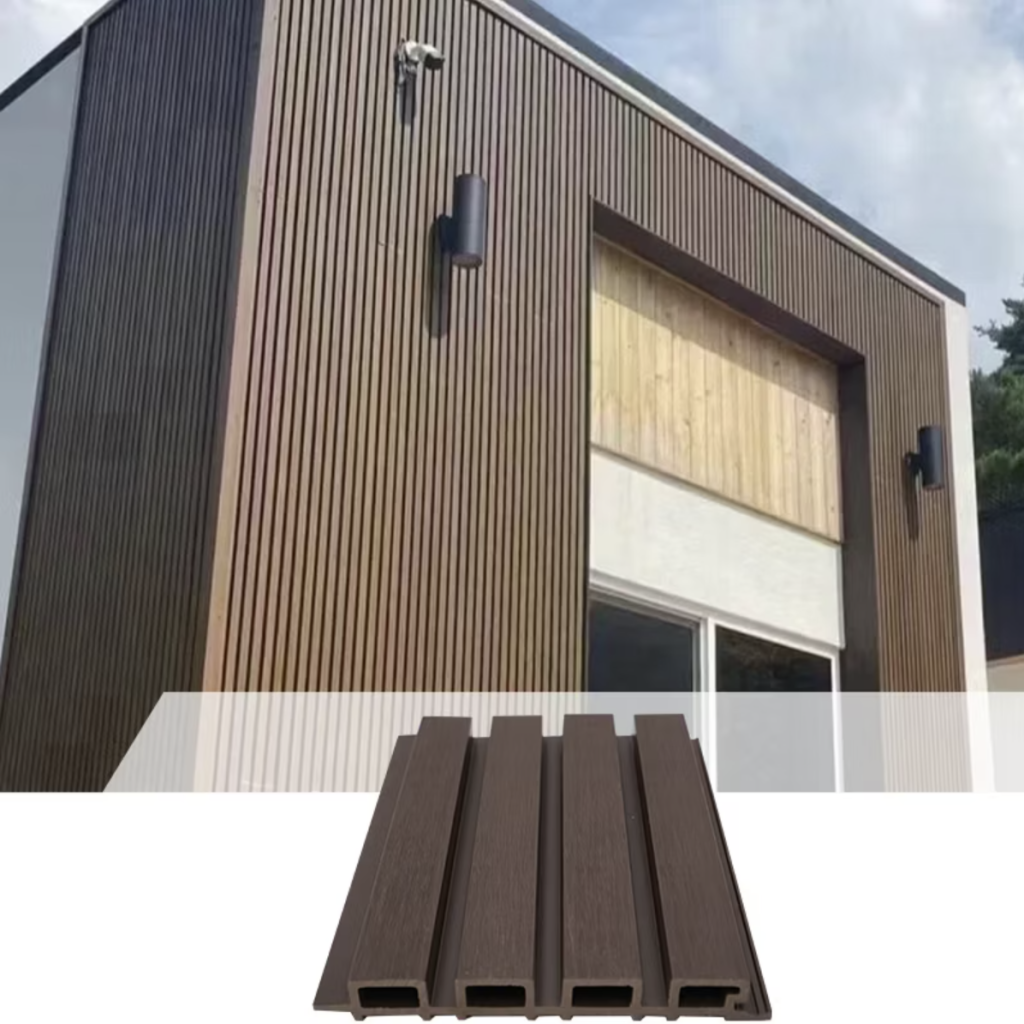
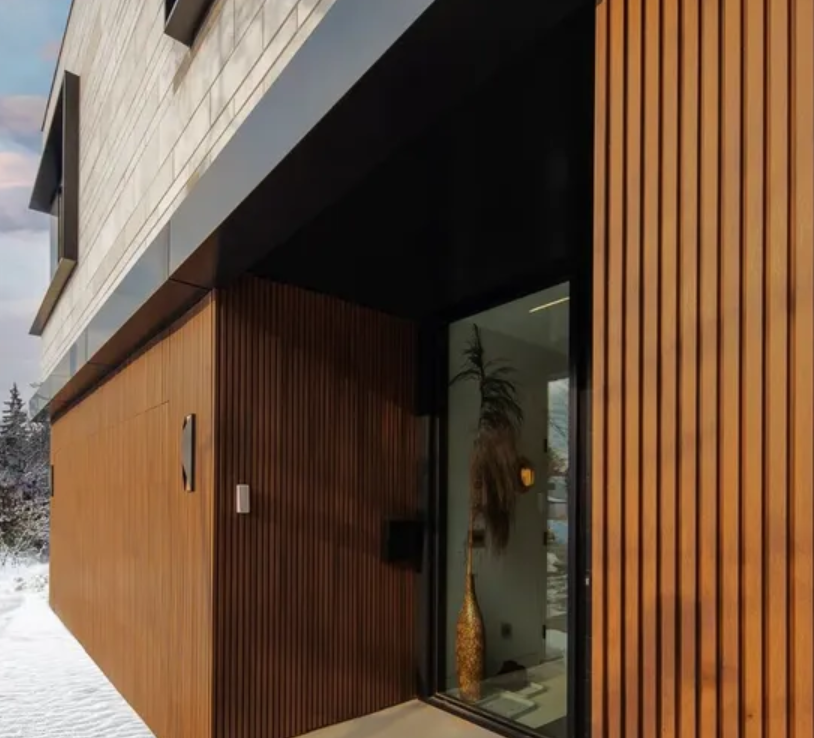
Exterior Walls, Soffits & Features
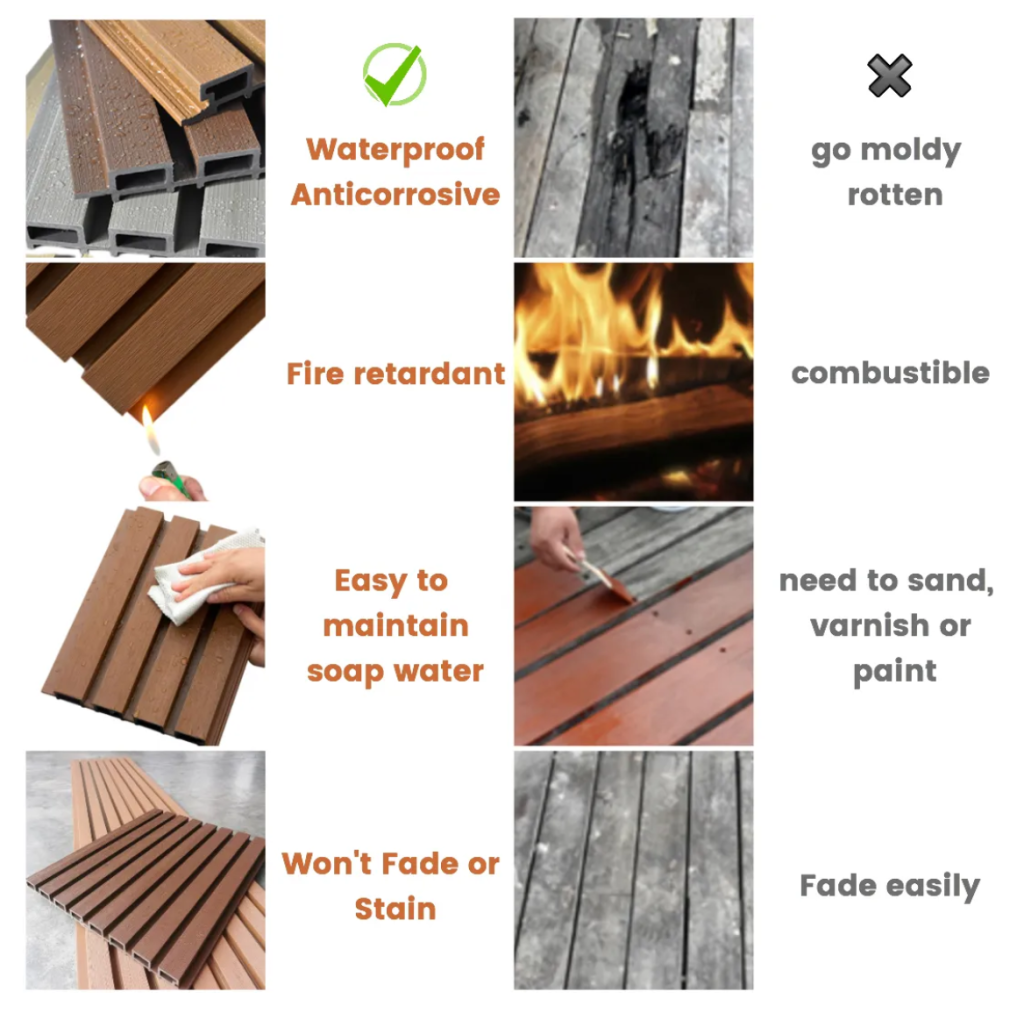
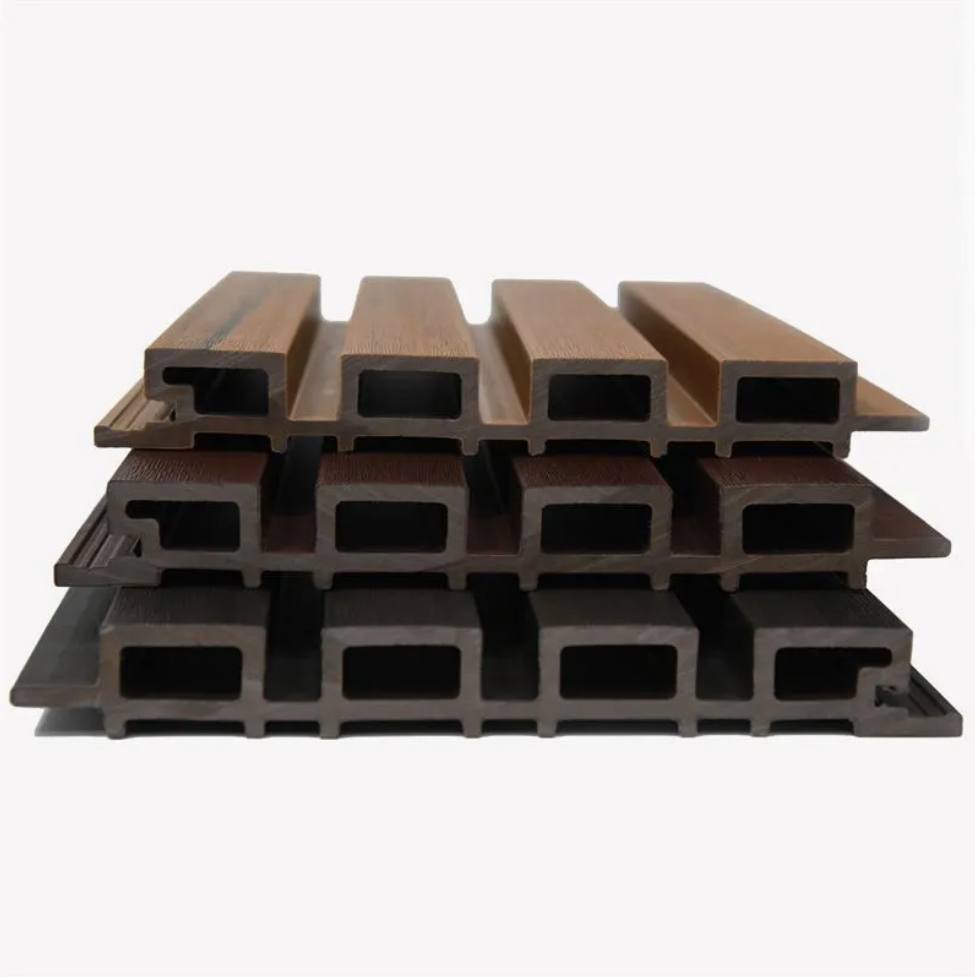
Our Outdoor WPC Flute Panels are designed to give exterior walls a clean, modern architectural look with low maintenance and excellent durability. This guide walks you through planning, preparation, installation, and finishing for a long-lasting, professional result.
Before You Start
Important notes
- Always follow local building codes and regulations for exterior cladding, fire safety, moisture control, and fastening requirements.
- This guide is intended for professional installers and experienced DIYers. For complex projects, consult a licensed contractor or engineer.
- WoodEco WPC panels are decorative cladding and are not a structural element.
Recommended tools
- Tape measure, pencil, chalk line
- Spirit level or laser level
- Circular saw or mitre saw with a fine-tooth carbide blade (for composites)
- Drill/driver and impact driver
- Stainless steel or high-quality coated exterior screws
- Spacers (3–5 mm)
- Safety glasses, hearing protection, gloves, dust mask
Check your delivery
- Verify colour, length, and quantity against your order.
- Store panels flat, on a dry, level surface, ideally out of direct sunlight.
- Allow panels to acclimate to ambient temperature for at least 24 hours before installation.

Substrate & Framing Requirements
WoodEco Outdoor WPC Flute Panels may be installed over:
- Exterior sheathing (plywood or OSB) on framed walls
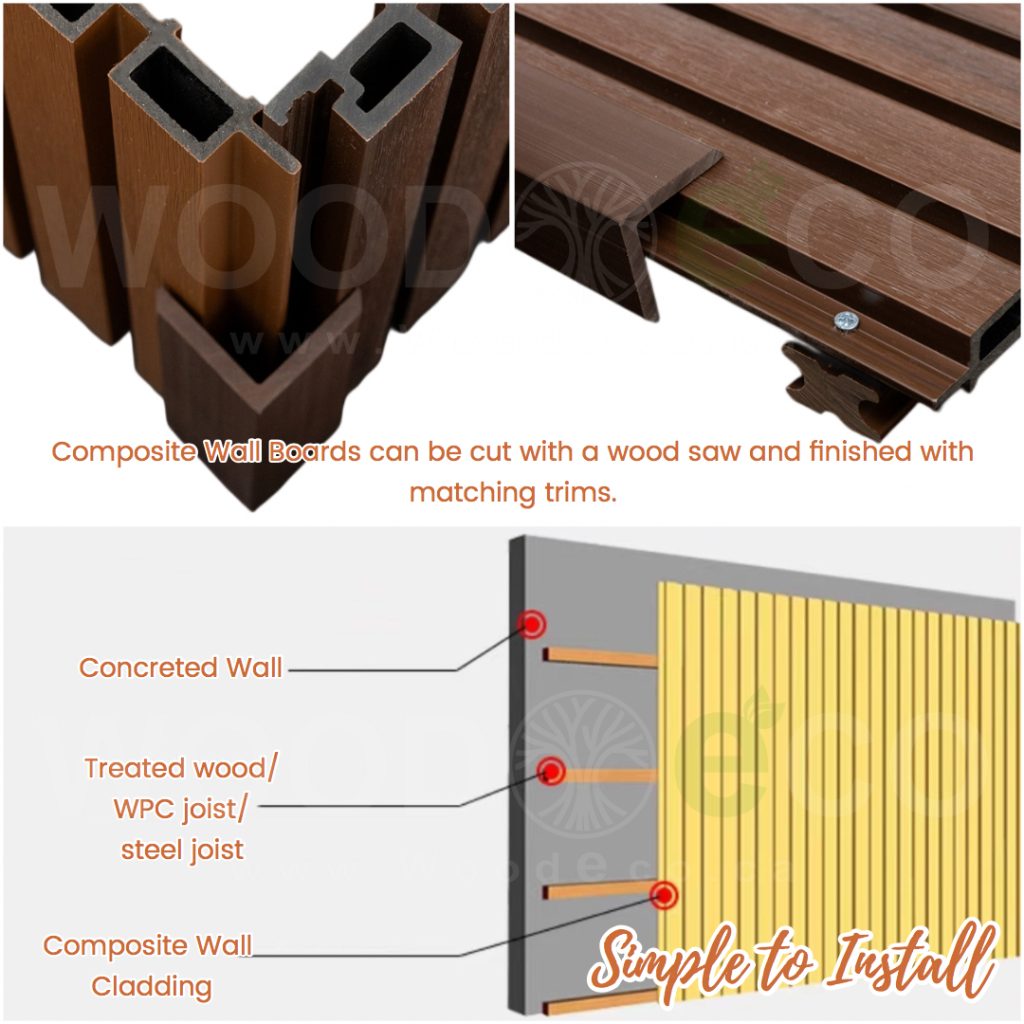
- Concrete, block, or brick walls (with battens)
- Existing solid cladding, if it is sound, dry, and flat
Ventilated batten system (recommended)
- Install vertical battens when panels run horizontally, or horizontal battens when panels run vertically.
- Maintain a 20–25 mm ventilation cavity behind the panels for drainage and airflow.
- Batten options: treated wood, composite, aluminium, or galvanized steel.
- Typical batten spacing: 300–400 mm (12–16") centre-to-centre.
- Ensure battens are plumb, level, and securely fastened to the main structure.
Planning Layout & Expansion Gaps
WPC (wood-plastic composite) will expand and contract slightly with temperature changes. Good planning prevents buckling and visible misalignment.
- Decide panel direction: most installations use vertical flutes, but horizontal is also possible.
- Plan where full-length panels will land and where cut panels will be least visible (inside corners, under soffits, behind downspouts, etc.).
- Leave a 3–5 mm expansion gap:
- Between the ends of panels at joints
- Where panels meet trims, corners, soffits, window and door frames
- Avoid using many short offcuts in one line on a highly visible wall; use full lengths where possible for a clean, continuous look.
Tip: Dry-fit the first few panels to visualize the pattern and alignment before fixing permanently.


Cutting the Panels
- Use a circular saw or mitre saw with a fine-tooth carbide blade suitable for composites.
- Cut with the visible face up to minimize chipping.
- Support both sides of the panel during cutting to prevent vibration and cracking.
- After cutting, remove dust and debris from the flute grooves.
Fasteners & Fixing Recommendations
To maximize longevity and avoid staining or corrosion, use high-quality fasteners and correct spacing.
Recommended fasteners
- Stainless steel (A2/A4) or exterior-grade coated screws.
- Typical size: 4.0–4.5 mm diameter, 35–50 mm long (depending on batten and panel thickness).
- Pre-drill near panel ends if necessary to prevent splitting.
- Do not over-tighten; screw heads should sit snug against the panel, not driven deep into the surface.
Fastener spacing
- Fix each panel at every batten.
- Along each batten, screw spacing is typically 400–500 mm (16–20").
- Keep screws at least 15–20 mm away from panel edges and profile ends.
If your project uses WoodEco-recommended fasteners or clip systems, follow the specific spacing and fixing details supplied with those accessories.
Installing the First Panel
The first panel sets the reference line for the entire wall, so take extra care at this step.
- Mark a perfectly level reference line where the bottom of the first panel will sit.
- Position the first panel on the battens along this line.
- Check level (and plumb, if panels are vertical) using a spirit level or laser level.
- Fix the panel into each batten, following the fastener guidelines above.
- Re-check level after all screws are installed.

Corners, Edges & Trims
Use matching WoodEco accessories (corner trims, L-trims, J-trims, etc.) for a clean, finished look.
Outside corners
- Install the outside corner trim first, ensuring it is plumb.
- Slide panels into the trim channel, leaving a small expansion gap hidden inside the trim.
- Where possible, keep screws concealed within the trim legs.
Inside corners
- Use dedicated inside corner profiles, or
- Create a shadow gap detail using battens and careful spacing.
Top & bottom edges
- At the bottom, ensure there is drainage and ventilation (open base or perforated trim).
- At the top, cap the cladding with a top trim or flashing to prevent water entering behind panels.
Around Windows, Doors & Openings
- Ensure proper flashing around all openings according to local code and best practices.
- Leave a 3–5 mm expansion gap between panels and frames.
- Cover gaps with suitable edge trims or a compatible exterior sealant.
- Add extra framing or short battens around openings for solid fixing points.
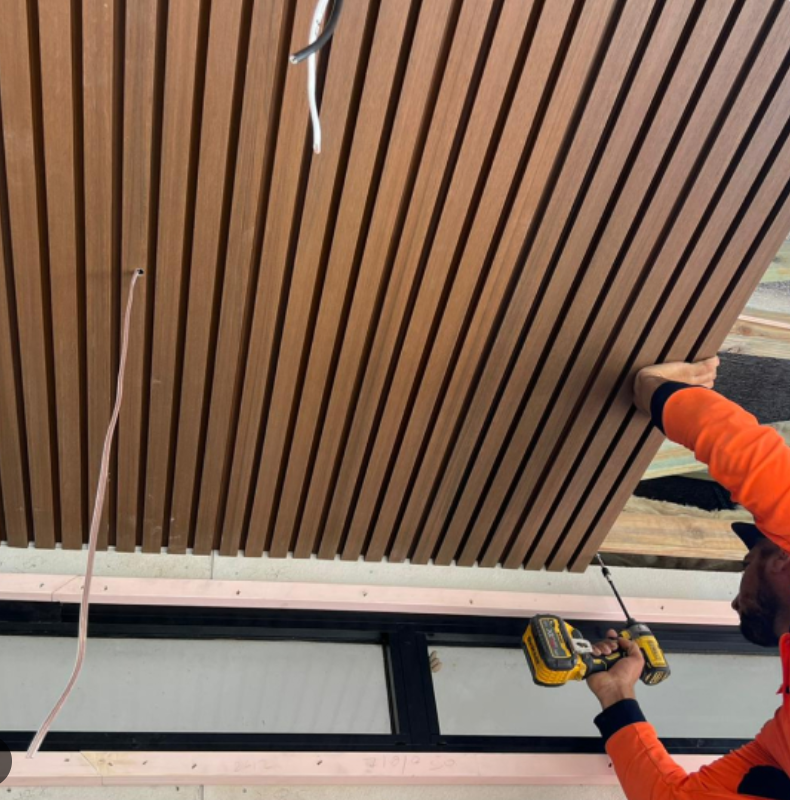
10. Soffits & Overhangs (if applicable)
- For soffits or ceilings, ensure framing/battens are spaced closer together (often around 300 mm / 12" centres or as required by stiffness).
- Start from the most visible edge (e.g., fascia side) and work back toward the wall.
- Use additional fasteners near panel ends to prevent sagging.

Cleaning & Maintenance
WoodEco WPC Flute Panels are low maintenance, but regular cleaning keeps them looking their best.
Routine cleaning
- Rinse panels with clean water once or twice per year, or as needed.
- Use mild soapy water and a soft brush to remove dust, pollen, or surface dirt.
- Rinse thoroughly to remove soap residue.
Avoid
- Aggressive solvents, harsh chemicals, or strong bleach.
- High-pressure washing at very close range.
- Metal scrapers, wire brushes, or steel wool.
In most climates, panels do not require painting, staining, or sealing. Natural light weathering over time is normal.
Safety & Best Practices
- Wear eye, ear, and dust protection when cutting or drilling.
- Support long panels properly during lifting and installation.
- Do not install directly behind high-heat sources (e.g., open-flame grills, fire features) without proper clearance and shielding.
- Follow all manufacturer instructions for adhesives, sealants, and fasteners used with the system.
13. Troubleshooting
Panels look slightly different in tone between areas
- Small colour variations between production batches are normal for WPC products.
- Use panels from the same batch on continuous walls where possible.
- Randomize panels from different packs to blend subtle tone differences.
Buckling or a “wavy” appearance
- Check that expansion gaps were left at panel ends.
- Ensure screws are not over-tightened.
- Verify that battens are straight, level, and correctly spaced.
Water staining or streaking
- Confirm that flashings and caps are directing water away from the cladding.
- Ensure there is adequate drainage and ventilation at the base of the cladding system.
Summary & Project Support
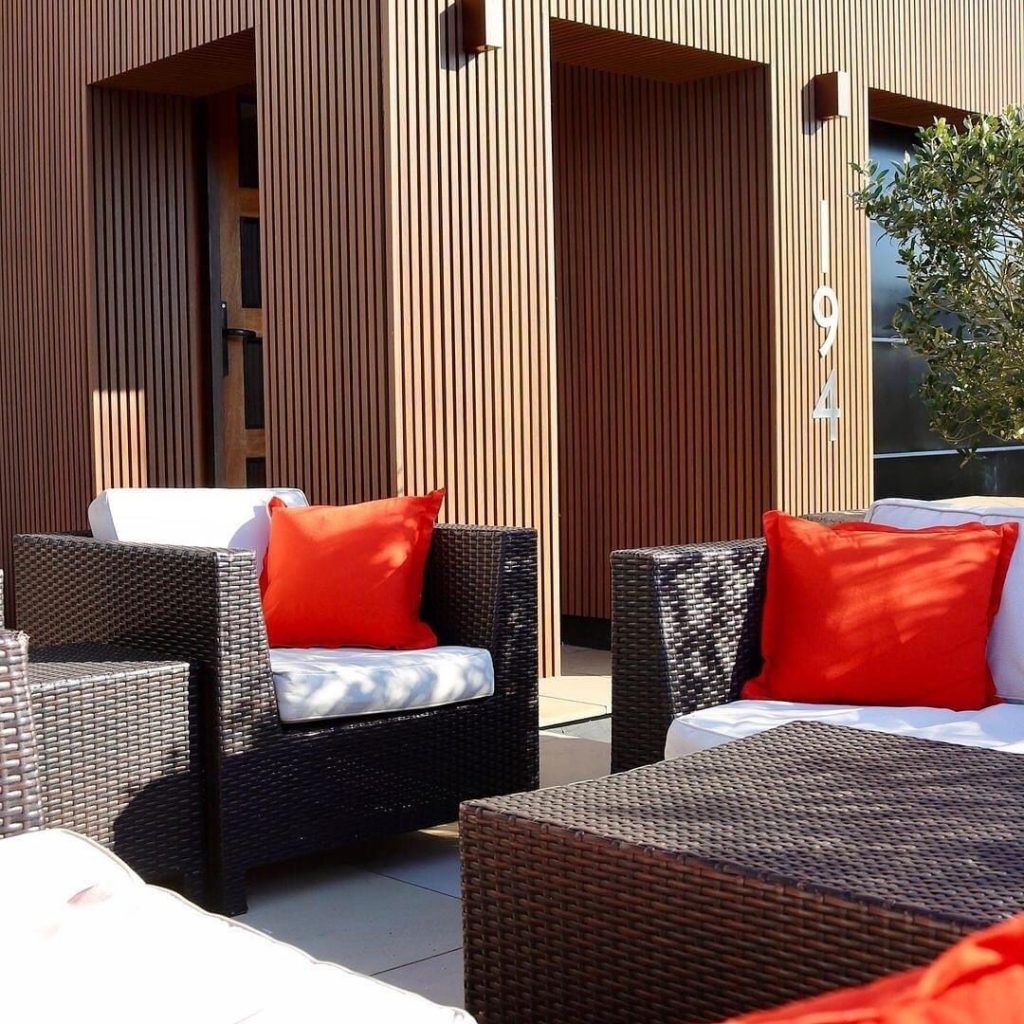
WoodEco Outdoor WPC Flute Panels are a premium exterior cladding solution for modern feature walls, soffits, and facades. With correct planning, framing, fastening, and finishing, you’ll achieve a clean, long-lasting architectural look with minimal maintenance.
If you’re planning a project and would like layout help, fastener recommendations, or material estimates, feel free to share your wall measurements and a few photos with the WoodEco team. We’re always happy to help you design and install an exterior WPC wall solution that looks beautiful and performs for years.